How to Plan Your Social Media Content
In this 24/7 content creation and sharing world, sometimes coming up with what to say on your social media platforms can seem absolutely overwhelming. (News flash: you do not have to post 7 days a week!)
But I see you trying to come up with meaningful content each week to attract your ideal clients and customers, endlessly scrolling looking for inspiration, and then realizing an hour just flew by and you have nothing to show for it. I promise you, there’s a smarter way to prepare your social media content.
That’s why I created this downloadable content calendar for you. The only goal for this document? Help you plan ahead so you’re less overwhelmed.
Here’s the skinny: the trick is to first know your brand pillars. Then choose a topic or theme for each day you plan to post. For example, maybe Tuesdays will be inspirational quote days, and maybe Thursdays you’ll show a peek behind-the-scenes.
Don’t stress about the perfect photo or graphic yet. One step at a time! I want to help you crate content in an easy and stress-free way that stays on brand and provides valuable content for your audience. So let’s dive in to step 1.
Step 1: Establish Your Brand Pillars
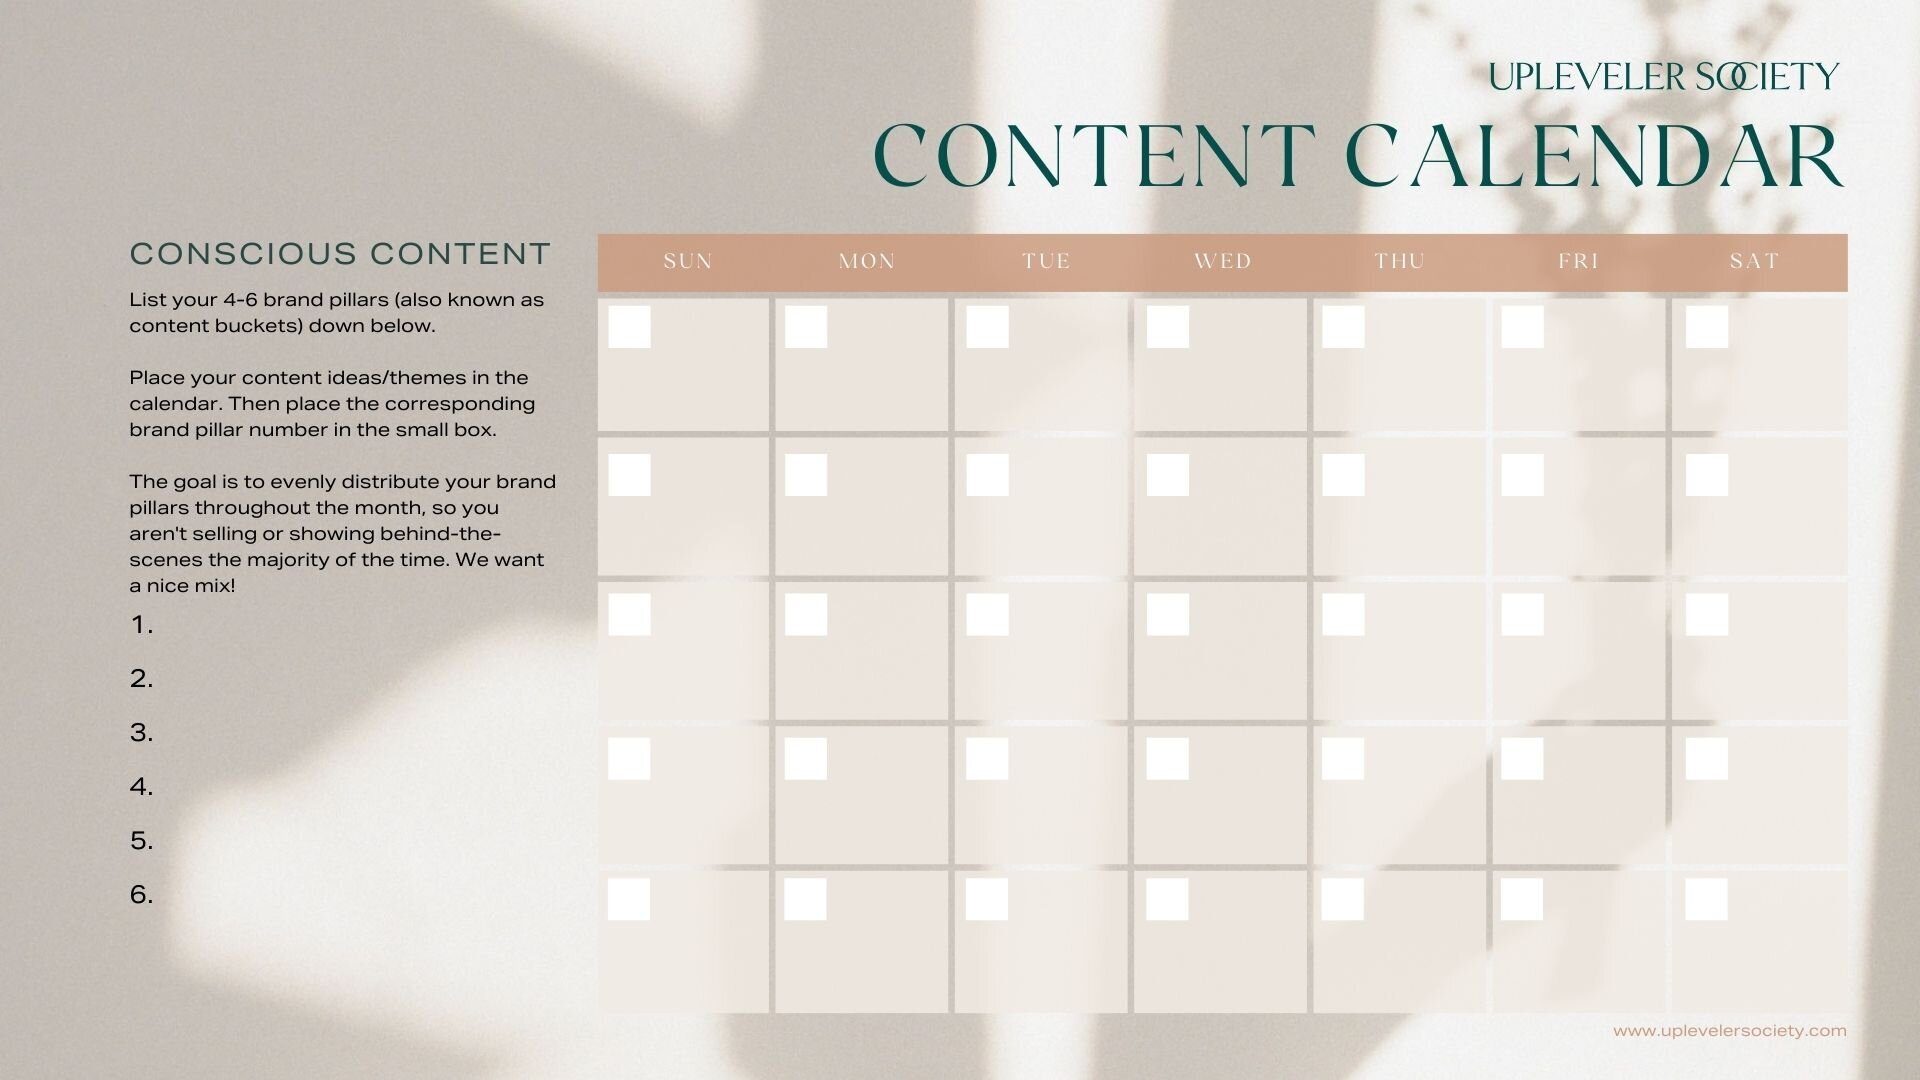
To start planning, you need to understand your brand pillars, sometimes called content buckets. This should be 4-6 topics that represent your brand and your mission. Any piece of content you share online should fit into one of these buckets to ensure you’re staying relevant to your target audience. List your 4-6 brand pillars on the left side of the calendar.
As an example, if you are a website designer for small businesses, your buckets may include:
Client Work
Website design tips
Education on platforms, imagery, copy, and function
Behind the Scenes
SEO tips
Every social media post you create should ideally easily belong in one of your buckets. Now, your buckets can change as your business and brand grows, so it’s a good idea to re-evaluate your content buckets from time to time. When you begin to write content, use these buckets as a guide for topics to discuss. Then you won’t feel like you’re just pulling captions from thin air!
Step 2: Use a Content Calendar
There’s no wrong way to use the content calendar. You can print it out and fill it in by hand, or use your computer to type in the squares. The point of this calendar is to help you plan from a big picture frame of mind. If you’re a newbie to planning, try starting with just one month. Once you get the hang of it, you could start planning out your content by quarter, leaving room for things that feel timely and fresh.
Here’s what we recommend:
Put a number from a content bucket into the square on the left side of each day. This will help you make sure you’re evenly distributing posts between your content buckets.
Add your post topic to the rest of the space. You don’t have to write the whole caption — start with just a note on the theme that you plan to talk about.
Step 3: Batch Your Content
Thanks to the content calendar you just created, now you have an outline for the entire month. Pour your favorite beverage, and let your creative juices flow!
Go to your favorite planning app (like our favorite, Planoly. Click here for 50% off your first month!), or you could use a tool like Asana or ClickUp, and start writing captions for your content. Make a note of what needs an image, what needs a graphic, and what might work best as a video or Reel.
You can take this one week at a time, or you can create the copy and content for the entire month — find what works for you.
By taking the time to layout your plans before you sit down to write or create, you’ve saved yourself so much time and energy. No more staring at a blinking cursor and hoping you come up with an idea that grabs your target client’s attention.
A few more social media planning tips:
Stay consistent! Not only do you want to keep your brand pillars in mind at all times, but you also want to stay consistent with the days that you are posting. If you can establish a rhythm (every Monday, Wednesday, and Friday at 10 a.m., for example), your followers will start to expect content from you and be ready to engage! Plus, you’ll fall into a nice rhythm and it will be easier to commit to the process. (Most scheduling platforms and Instagram itself will tell you when your most popular times are, so check those analytics.)
Pick a social media platform (or two or three) and ignore the ones that don’t serve you. Set up placeholder accounts on those platforms using the same profile pic/image as your other accounts, and use that account to drive people to find you on the platform you are active on! For example, your audience might not be on Twitter, but you can grab the Twitter handle for your business, and in your bio, ask them to follow you on Instagram for daily content!
Your content calendar is a guide, not a rule book. If you planned to educate on SEO today according to your content calendar, but now you feel inspired to showcase something more inspirational, it’s okay to pivot. The point in planning is to ease your stress and free up your time, so if as a result, you now have a fresh, creative idea, run with it! And now you can push that planned content to another day and you are one more day ahead with content planning. Bravo!
Download your new content calendar here.
As always, tag me on Instagram (@TiffanyNapper) if the content calendar or any of these tips help bring more ease to your business and your life.
PS. Do you need help designing attention-grabbing graphics? Check out our blog post about our favorite apps for graphics!

Disclosure: There are affiliate links in this blog post, which means we may receive commissions for purchases made through these links. We wouldn’t recommend them if we didn’t personally believe in them and use them for our business. Thank you in advance for your support and we hope you find our suggestions valuable as you grow your business!

